Invite Collaborators & Manage Permissions
Step 1: Welcome to Mytree! In this tutorial, we'll guide you through inviting collaborat
Welcome to Mytree! In this tutorial, we'll guide you through inviting collaborators to a family tree, assigning View or Edit permissions, and managing the collaborator list. Multiple collaborators can be added to one tree. For example, if the tree has multiple branches, you can assign a collaborator to work only on a specific branch — perfect for large trees built by a team.

Step 2: Click Tree Settings
Suppose you want to invite User B to work on a family tree. From your tree page, click the Tree Settings button to open the management page.
![]()
Step 3: Collaborators Tab
Select the Collaborators tab. Here you'll see the invite form and a list of people who have already been invited.
![]()
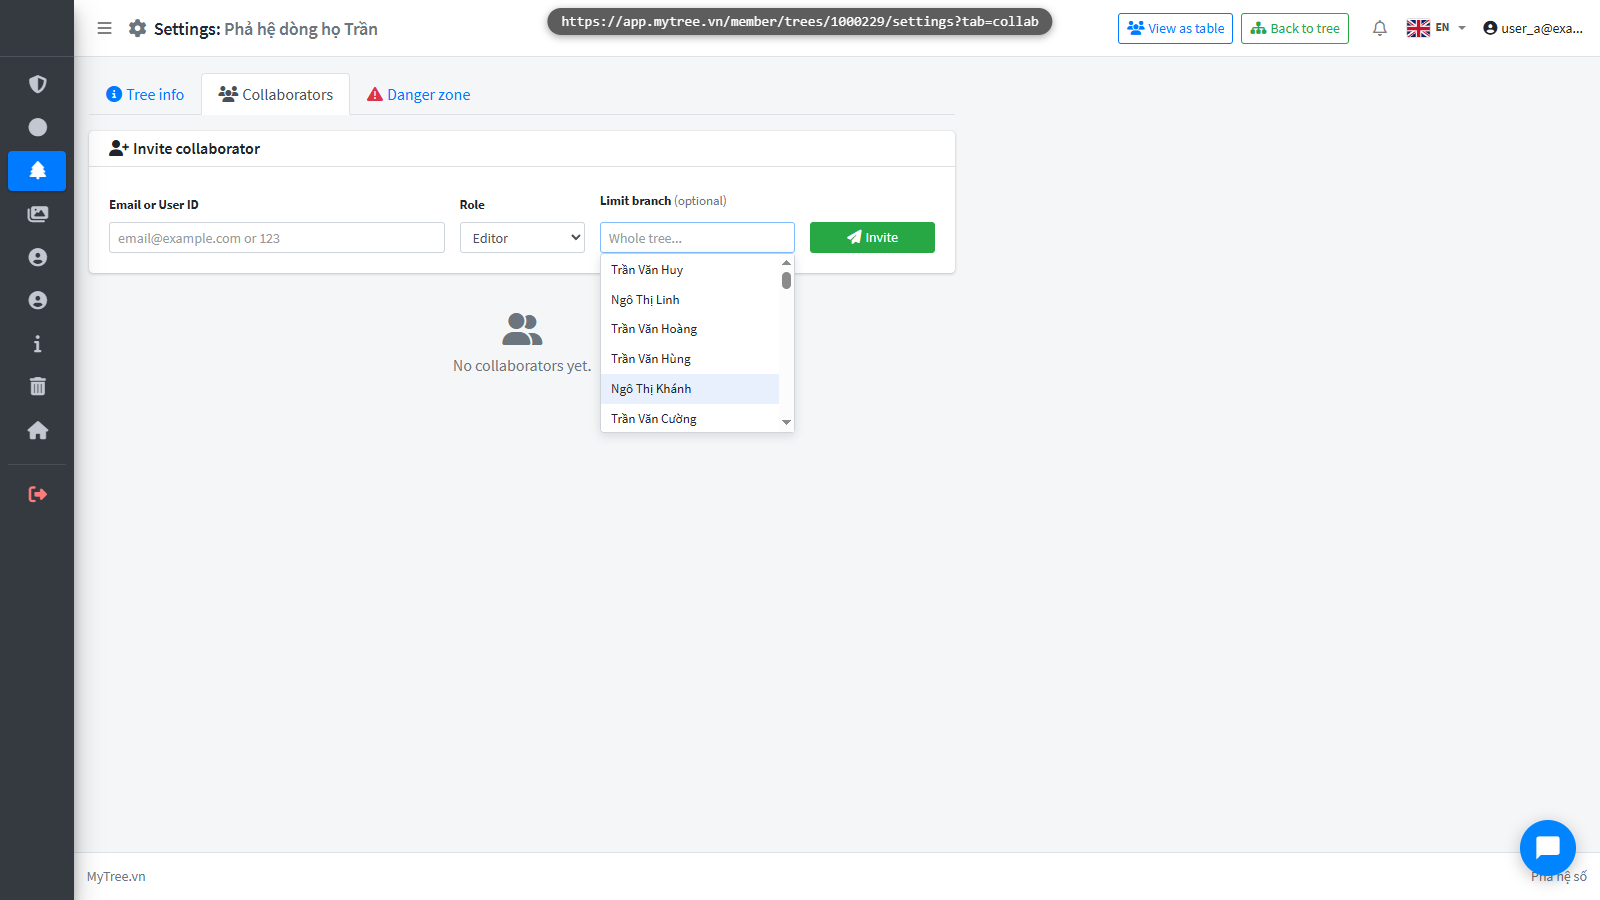
Step 4: Enter the email or username of the person you want to invite, then select a role
Enter the email or username of the person you want to invite, then select a role: View for read-only access, or Edit for full add/delete/modify access on the tree. To limit them to only one branch, select the root member of that branch in the Branch Limit field.
Step 5: Enter the email or username of the person you want to invite, then select a role
Enter the email or username of the person you want to invite, then select a role: View for read-only access, or Edit for full add/delete/modify access on the tree. To limit them to only one branch, select the root member of that branch in the Branch Limit field.
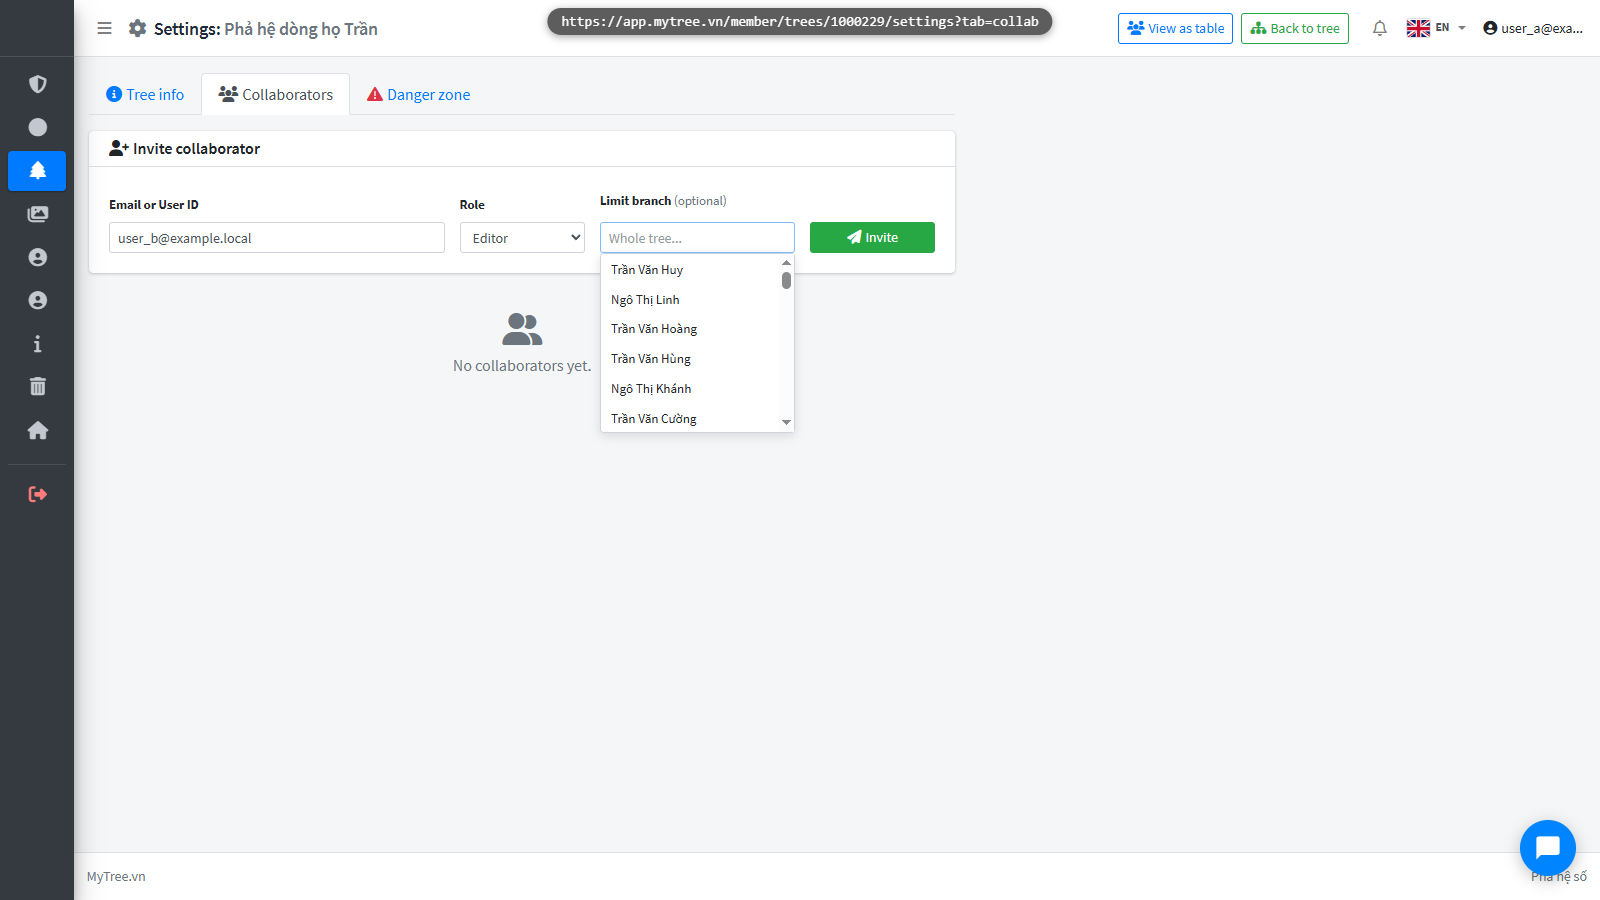
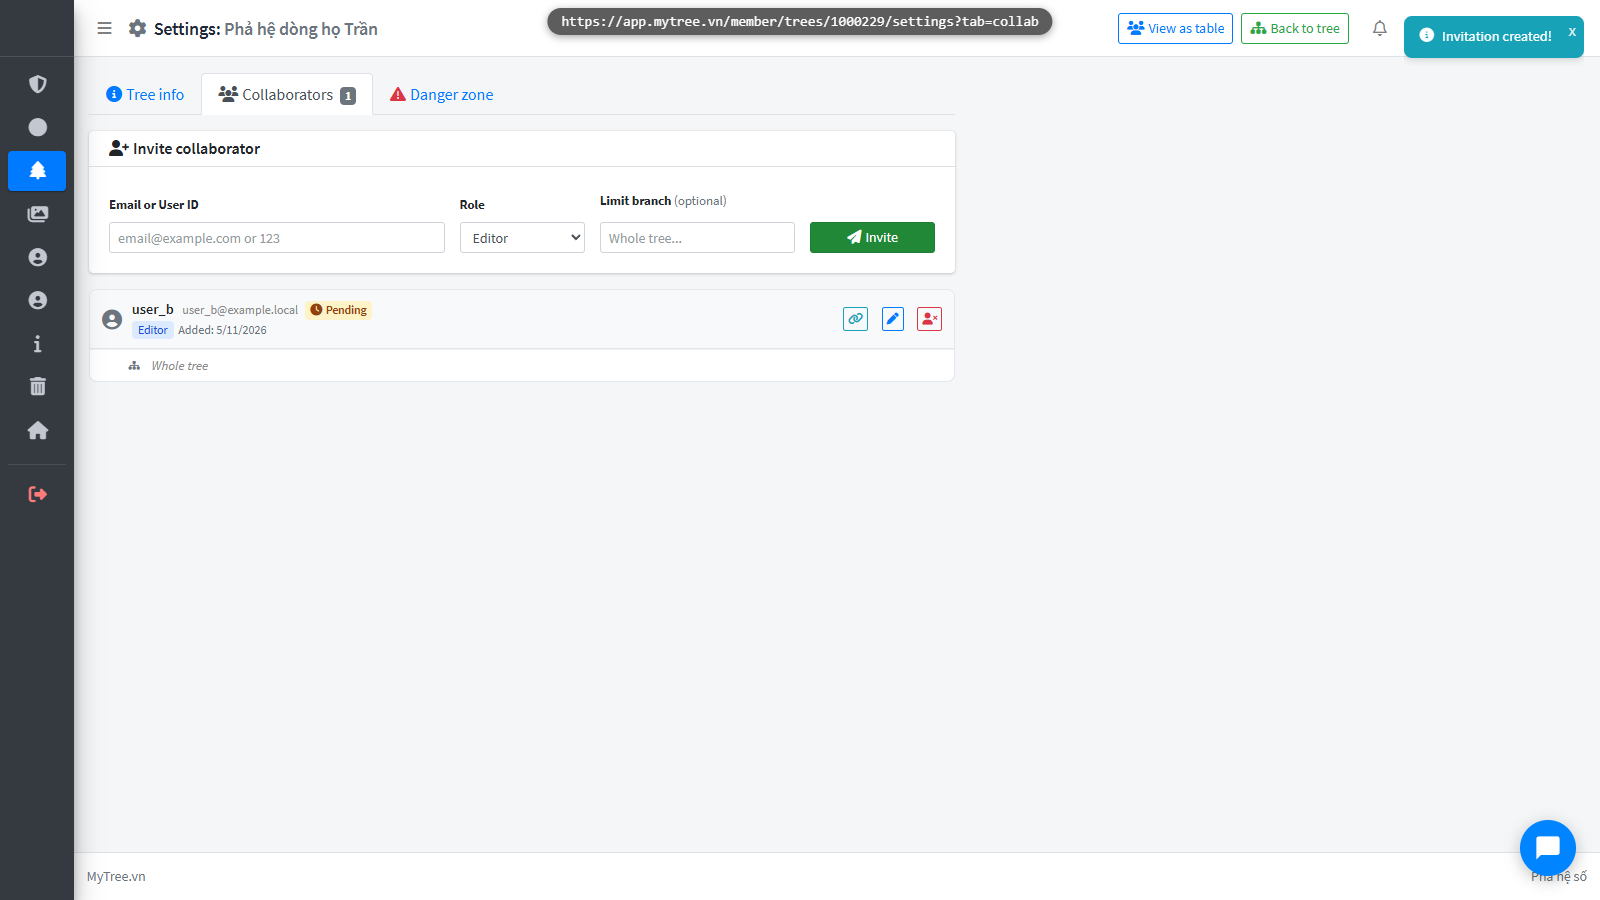
Step 6: If no branch is selected, User B has access to the entire tree. If a branch is s
If no branch is selected, User B has access to the entire tree. If a branch is selected, User B can only operate within that branch. Click Invite to send the invitation. User B will see this tree in their tree list.
![]()
Step 7: If no branch is selected, User B has access to the entire tree. If a branch is s
If no branch is selected, User B has access to the entire tree. If a branch is selected, User B can only operate within that branch. Click Invite to send the invitation. User B will see this tree in their tree list.
Step 8: User B Sees Invitation
Now switch to User B's account — the person who was just invited. B goes to the Tree List and will see the tree waiting for confirmation.
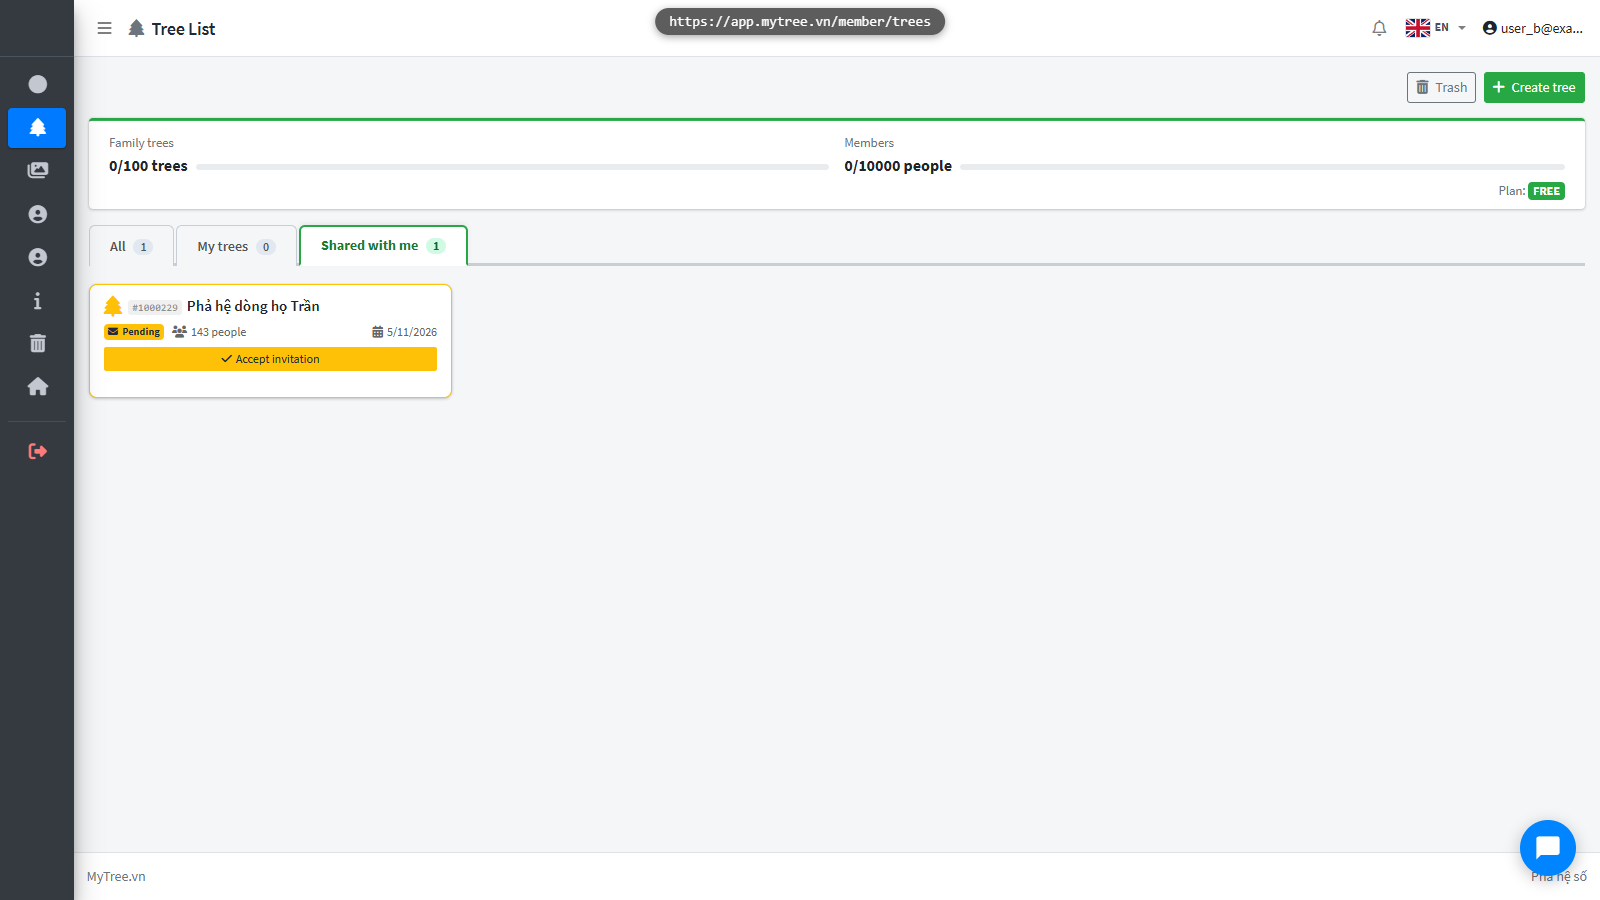
Step 9: Accept Invitation
User B clicks Accept Invitation on the tree list to gain access.
![]()
Step 10: Accept Invitation
User B clicks Accept Invitation on the tree list to gain access.
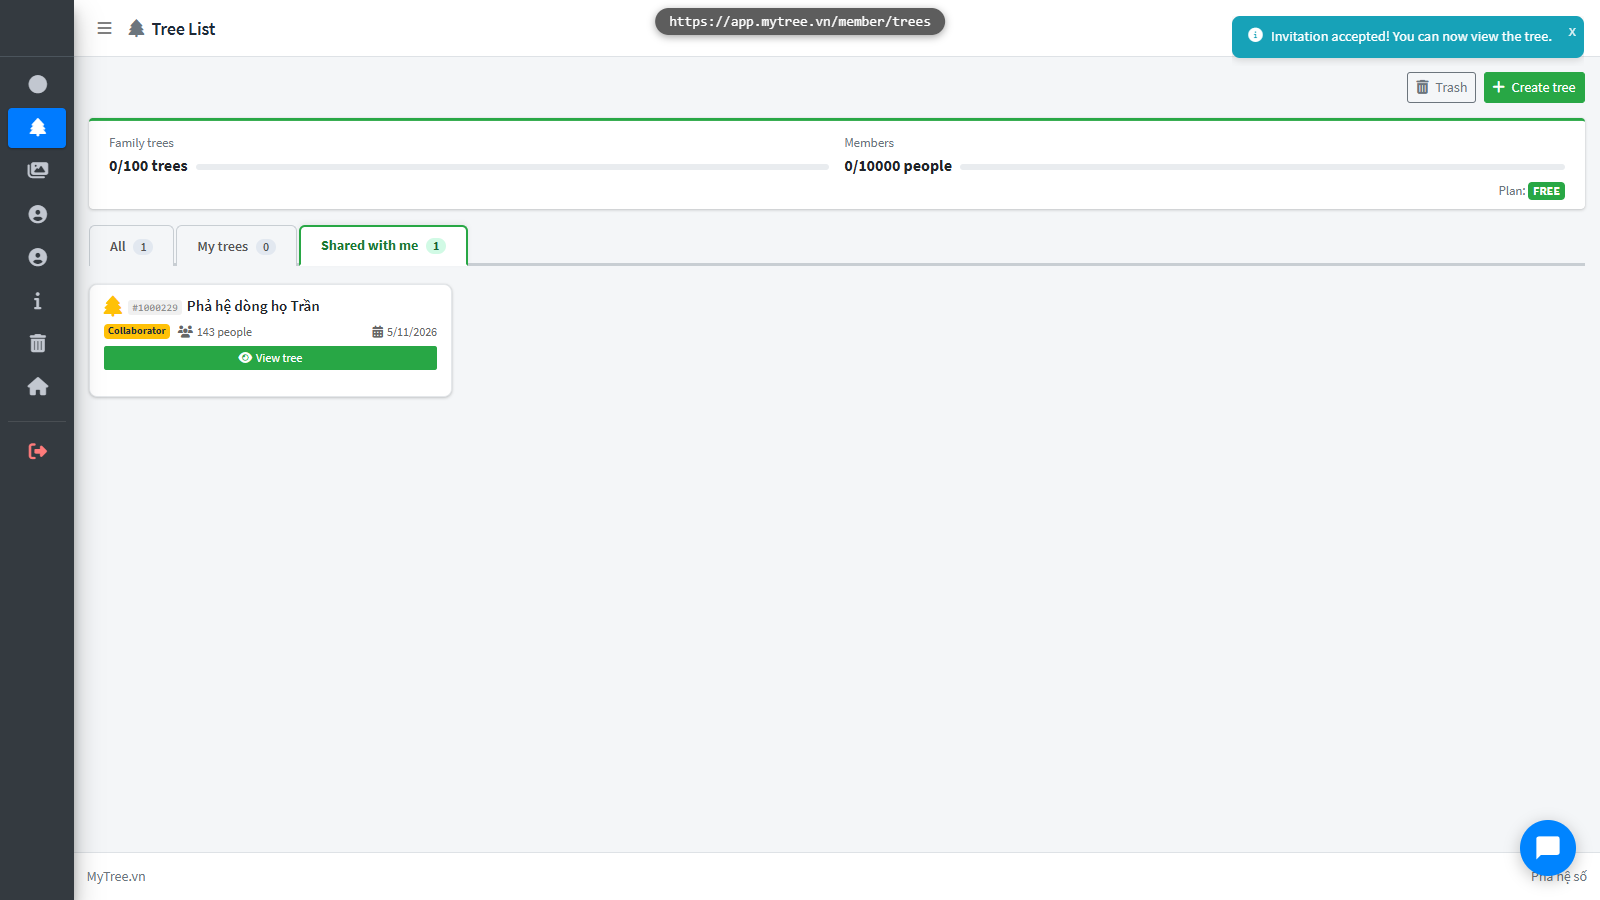
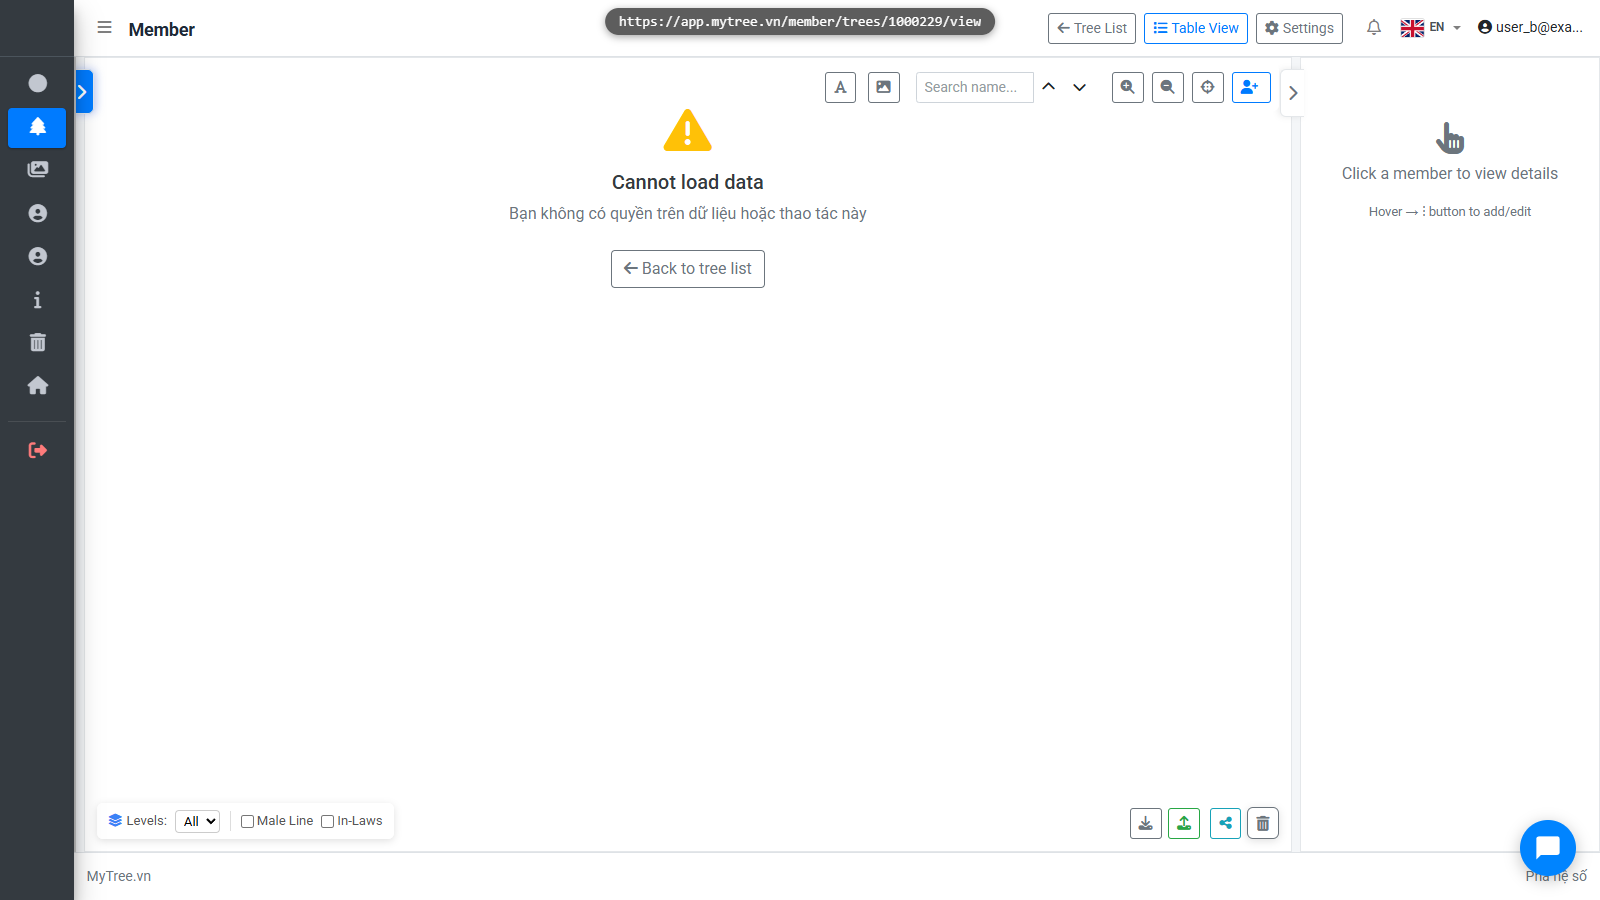
Step 11: User B Views Tree
B clicks View Tree to enter the family tree.
![]()
Step 12: User B Views Tree
B clicks View Tree to enter the family tree.
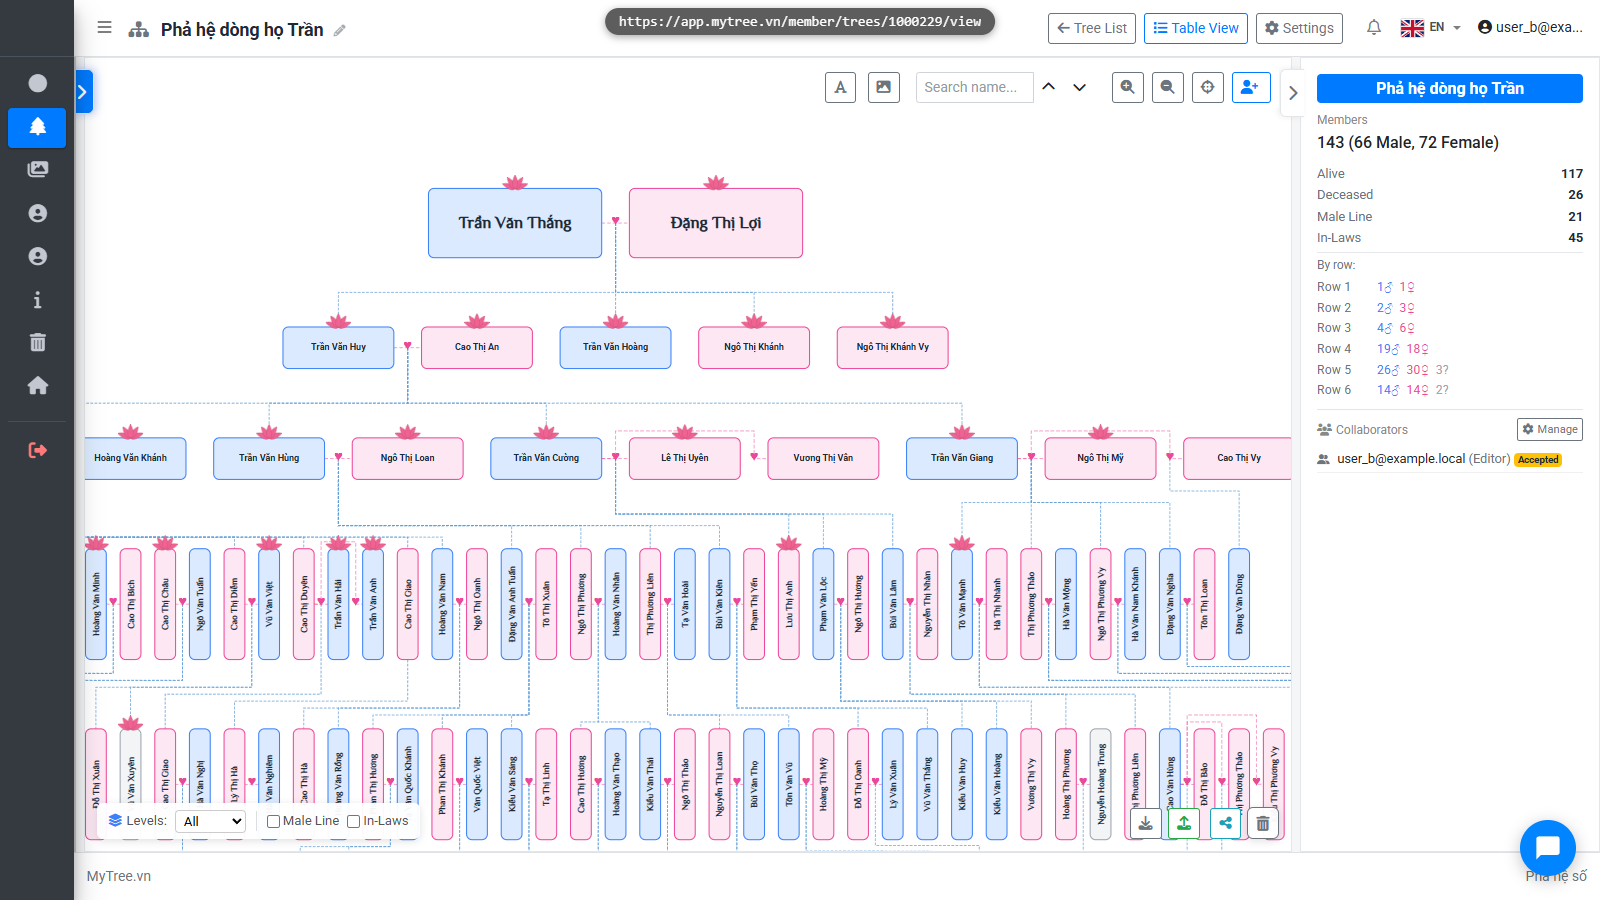
Step 13: Collaborator Accepted
Collaborator B appears in the right panel with status Accepted.

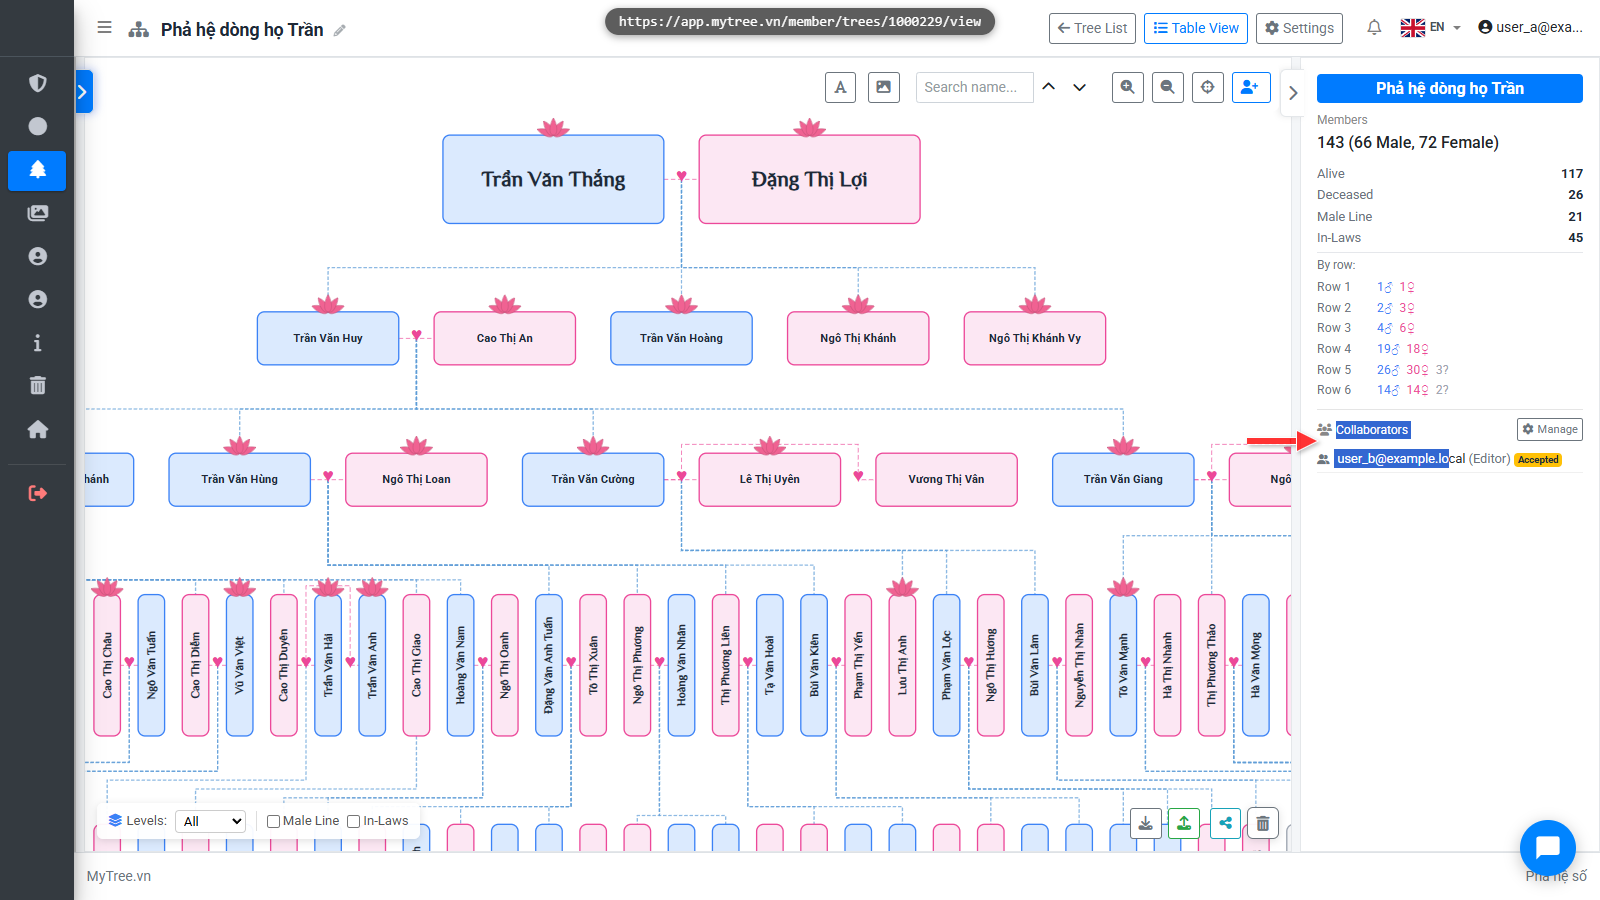
Step 14: Collaborator Panel
Click the link to go to the management page.
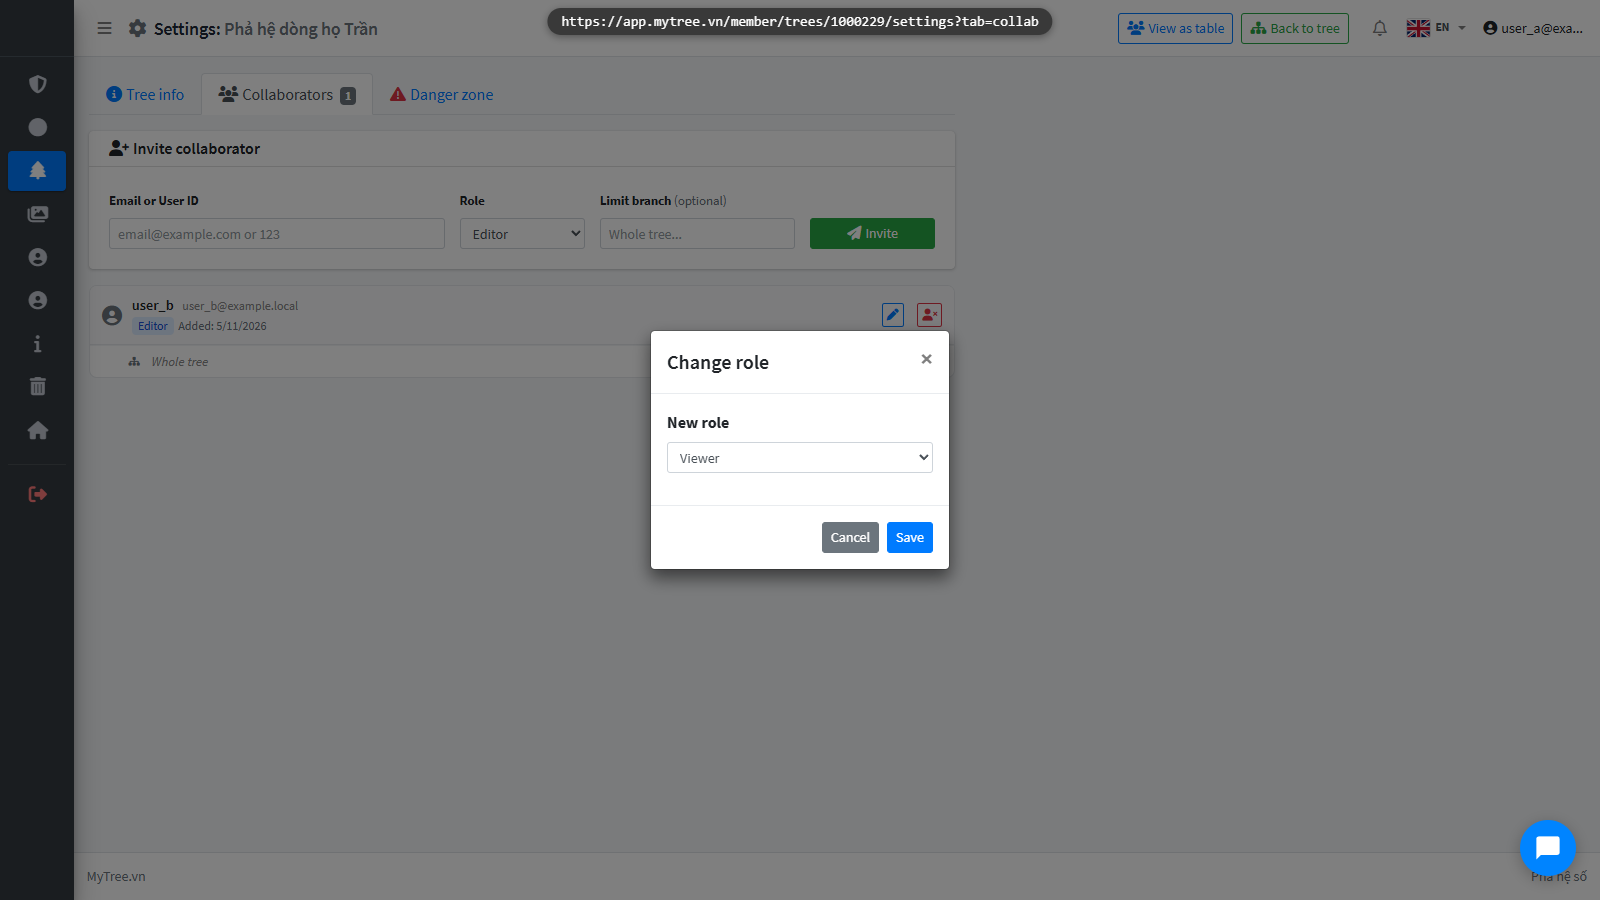
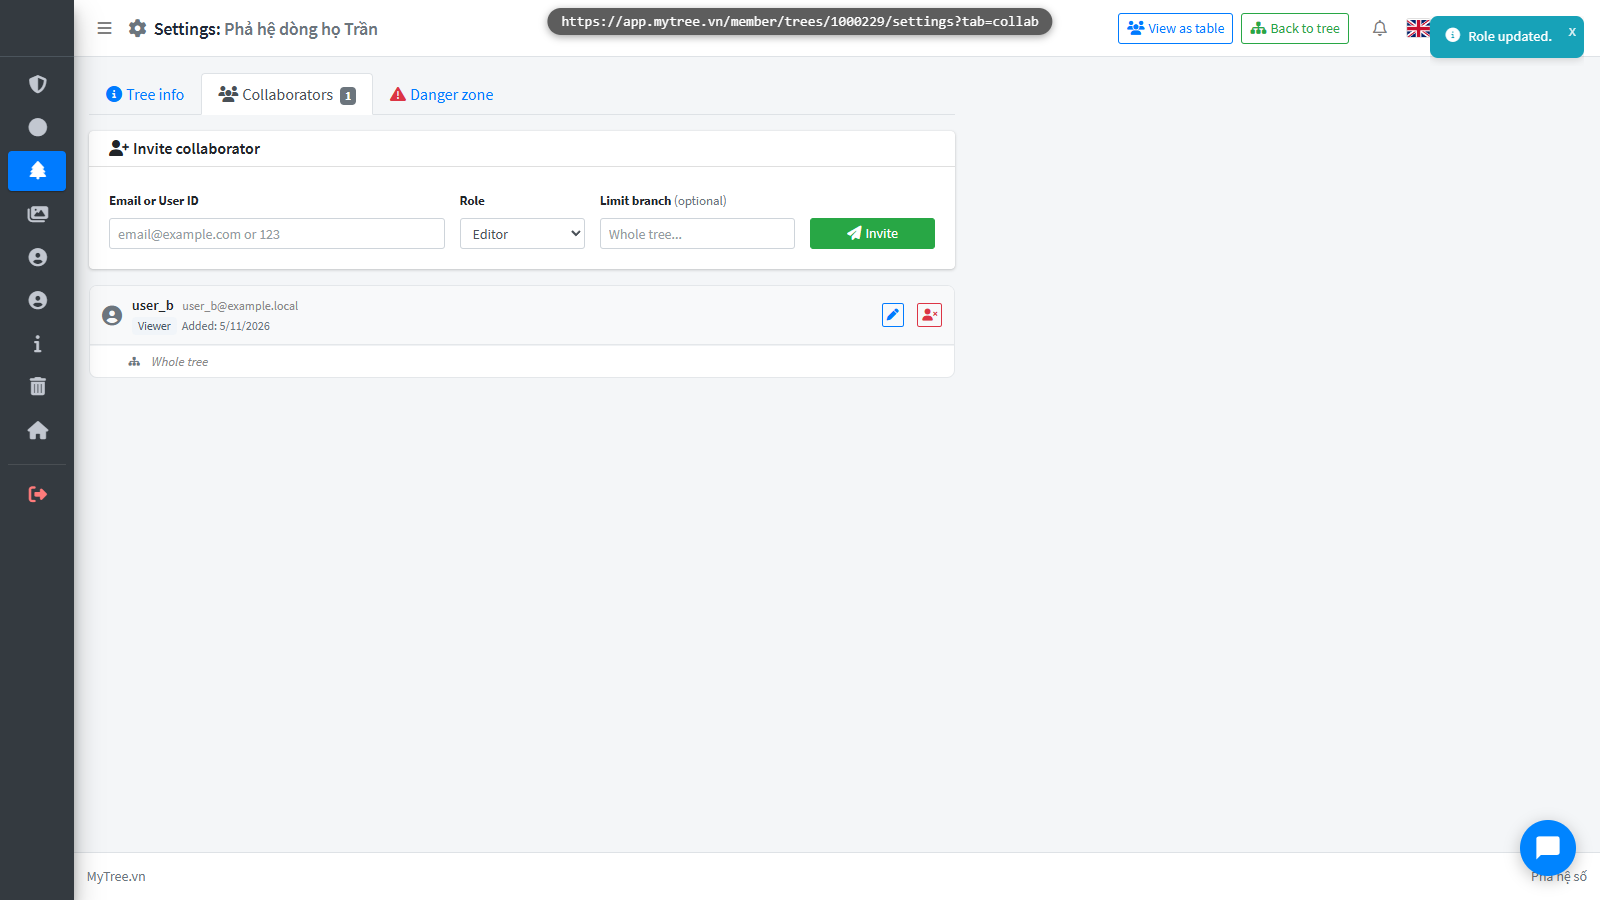
Step 15: Change Collaborator Role
You can change B's role at any time by clicking the pencil icon next to their name, selecting a new role, and clicking Save.
![]()
Step 16: Change Collaborator Role
You can change B's role at any time by clicking the pencil icon next to their name, selecting a new role, and clicking Save.
Step 17: Change Collaborator Role
You can change B's role at any time by clicking the pencil icon next to their name, selecting a new role, and clicking Save.
Step 18: Revoke Access
To revoke access, click Revoke. B will no longer be able to access this tree.
![]()
Step 19: Revoke Access
To revoke access, click Revoke. B will no longer be able to access this tree.

Step 20: Access Revoked
On B's account, the tree will no longer appear in their list.
Step 21: Access Revoked
On B's account, the tree will no longer appear in their list.