Export & Share the Family Tree
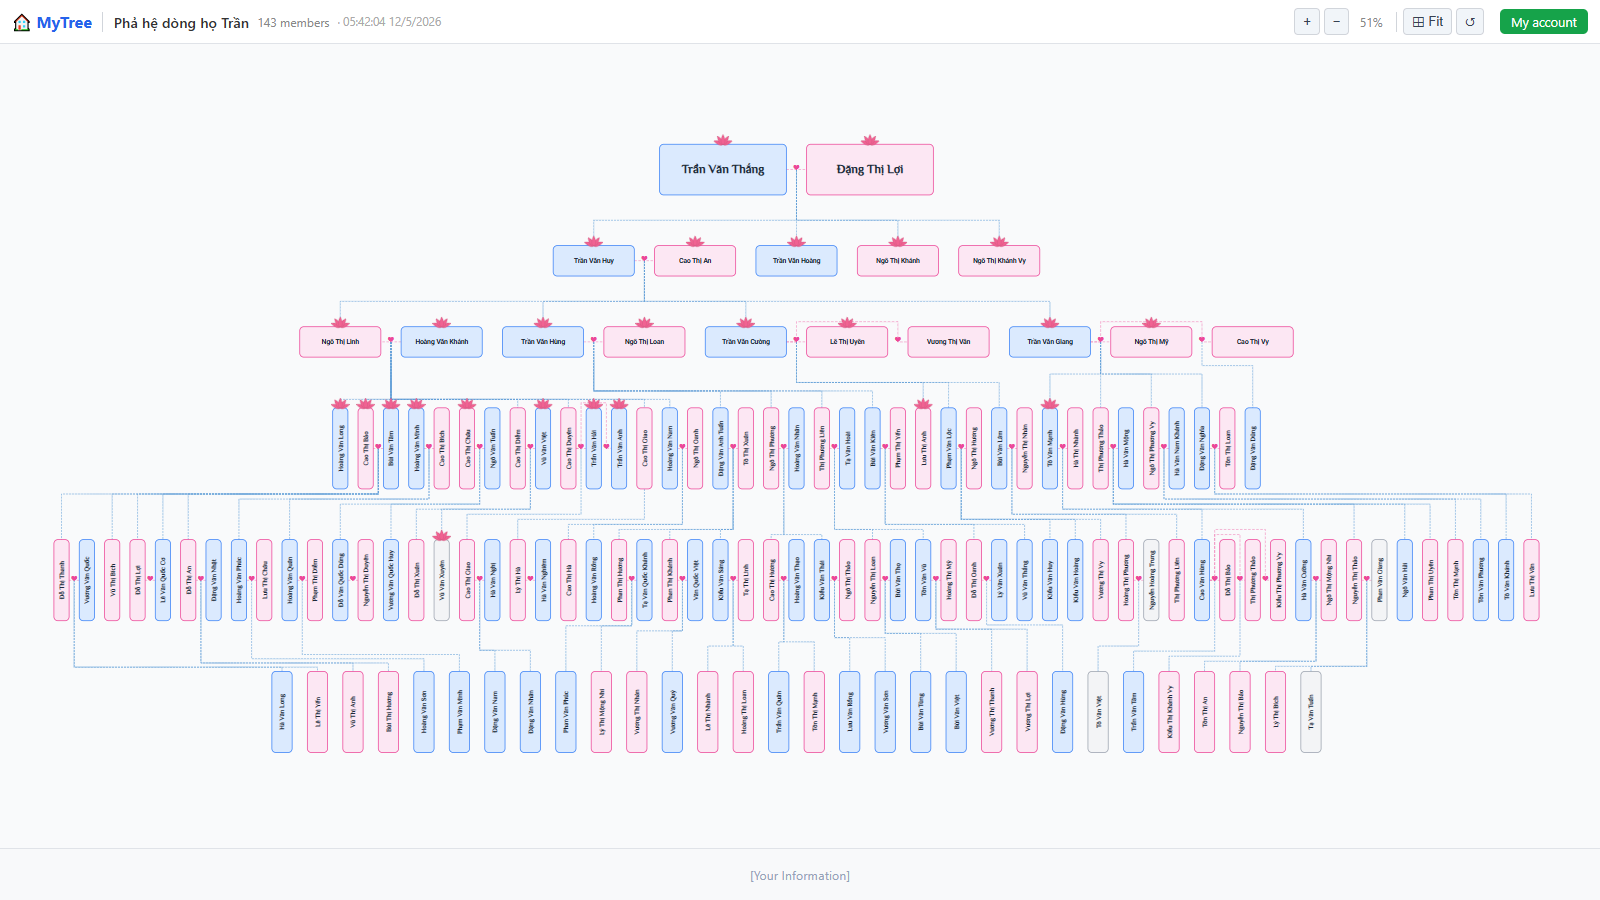
Step 1: Family Tree Overview
Welcome to Mytree! In this tutorial, we'll show you how to export your family tree and share it with others online.
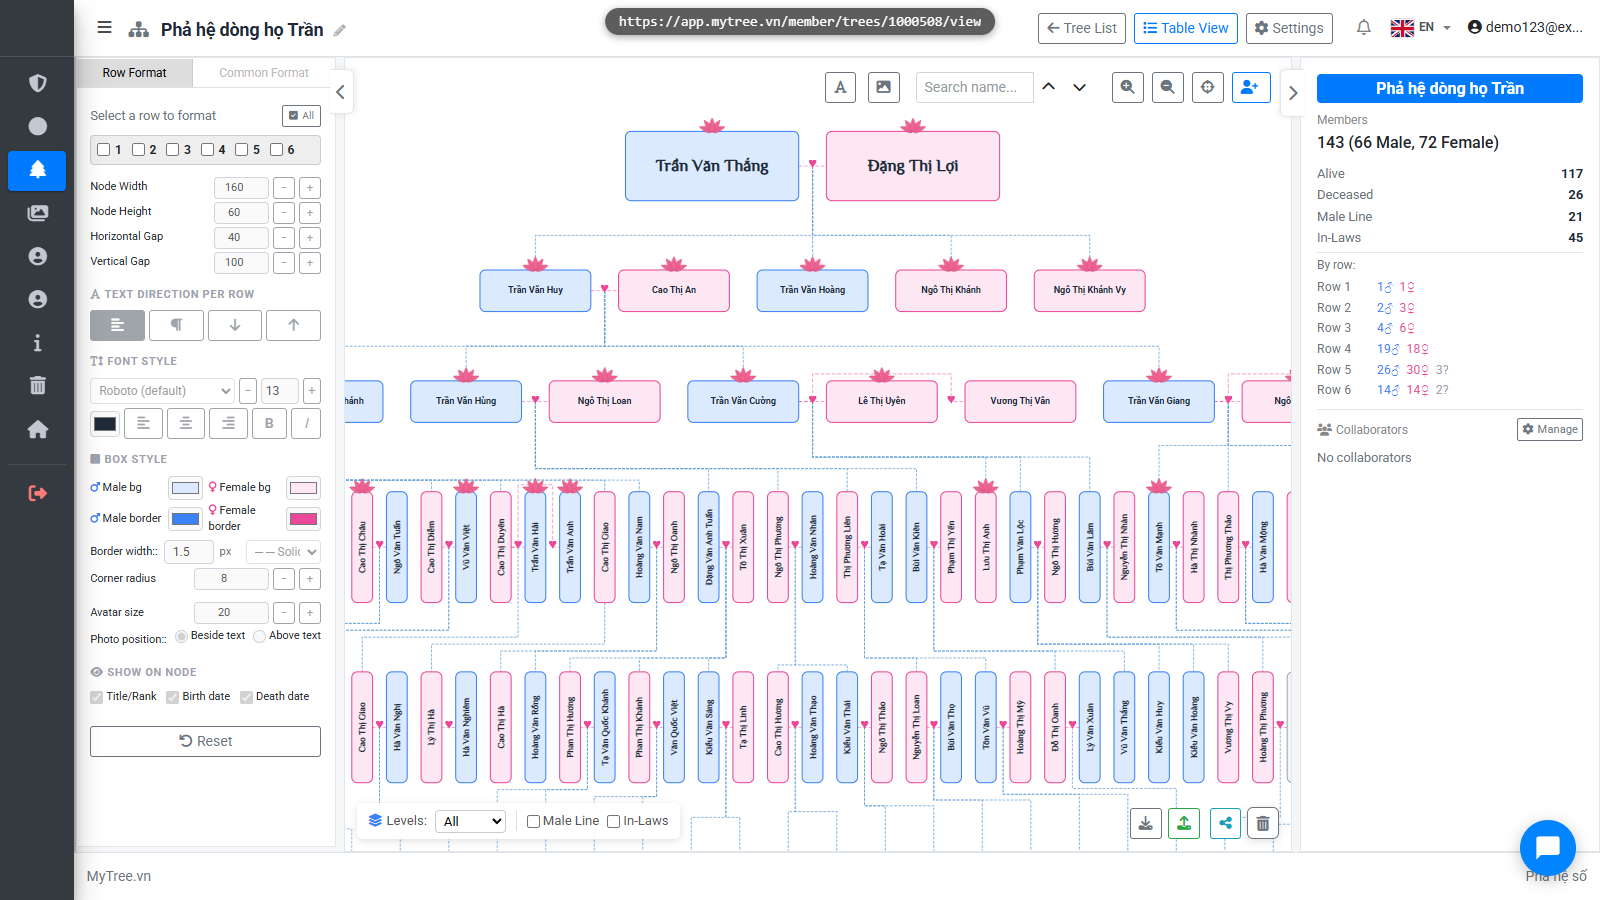
Step 2: Click Download Button
Click the Download button at the bottom right to open the format selection dialog.
![]()
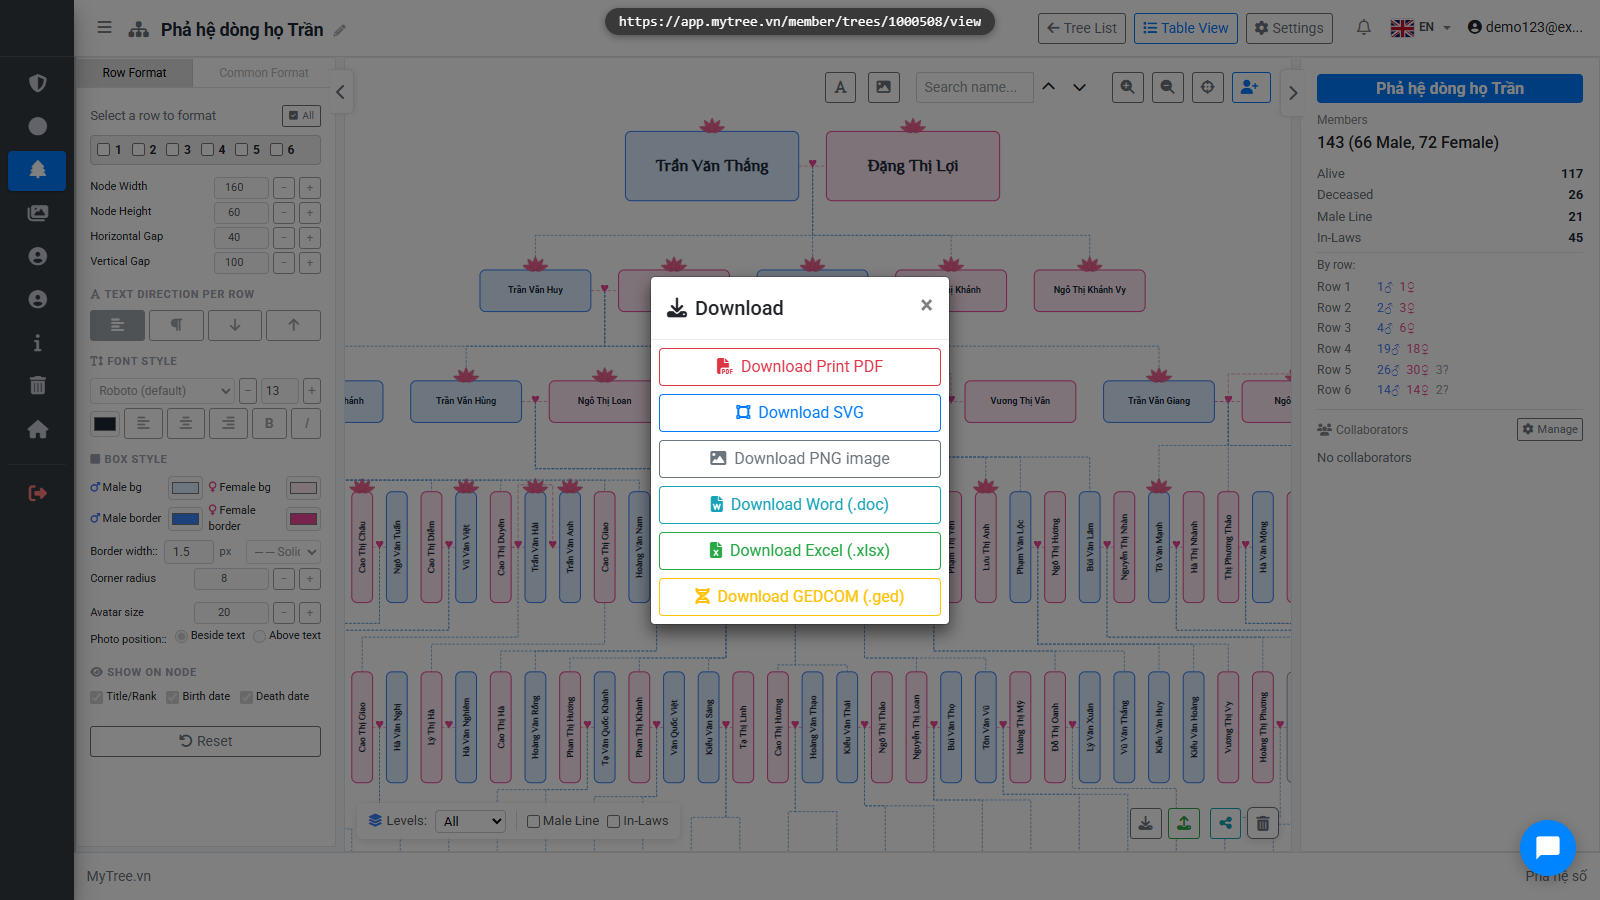
Step 3: Export Options
There are many export formats: PDF for printing, SVG and PNG as high-quality images, Word and Excel for editing, and GED-COM to transfer to other genealogy software. Excel, GED-COM, and Word exports are also a great way to keep a personal backup of your tree data!
Step 4: Export PDF
Click Export PDF to open the print dialog. From there you can save as PDF or print directly. When exporting, you'll see a scale percentage control to fit the page, and an option to rotate. You can export as A4. Print shops will scale to your desired size — A0 or larger — since PDF can be enlarged freely.
![]()
Step 5: Export PNG
Click Download as PNG to save an image file. Great for sharing on social media or printing photos.
![]()
Step 6: Export GEDCOM
GED-COM is the international standard format for genealogy data, used to transfer to other software or re-import into MyTree when needed.
![]()
Step 7: Export Word
Download Word to get a complete genealogy book with all members listed from start to finish.
![]()
Step 8: Share Publicly
Besides file export, you can share the tree online. Click the Share button at the bottom.
![]()
Step 9: Share Publicly
Besides file export, you can share the tree online. Click the Share button at the bottom.
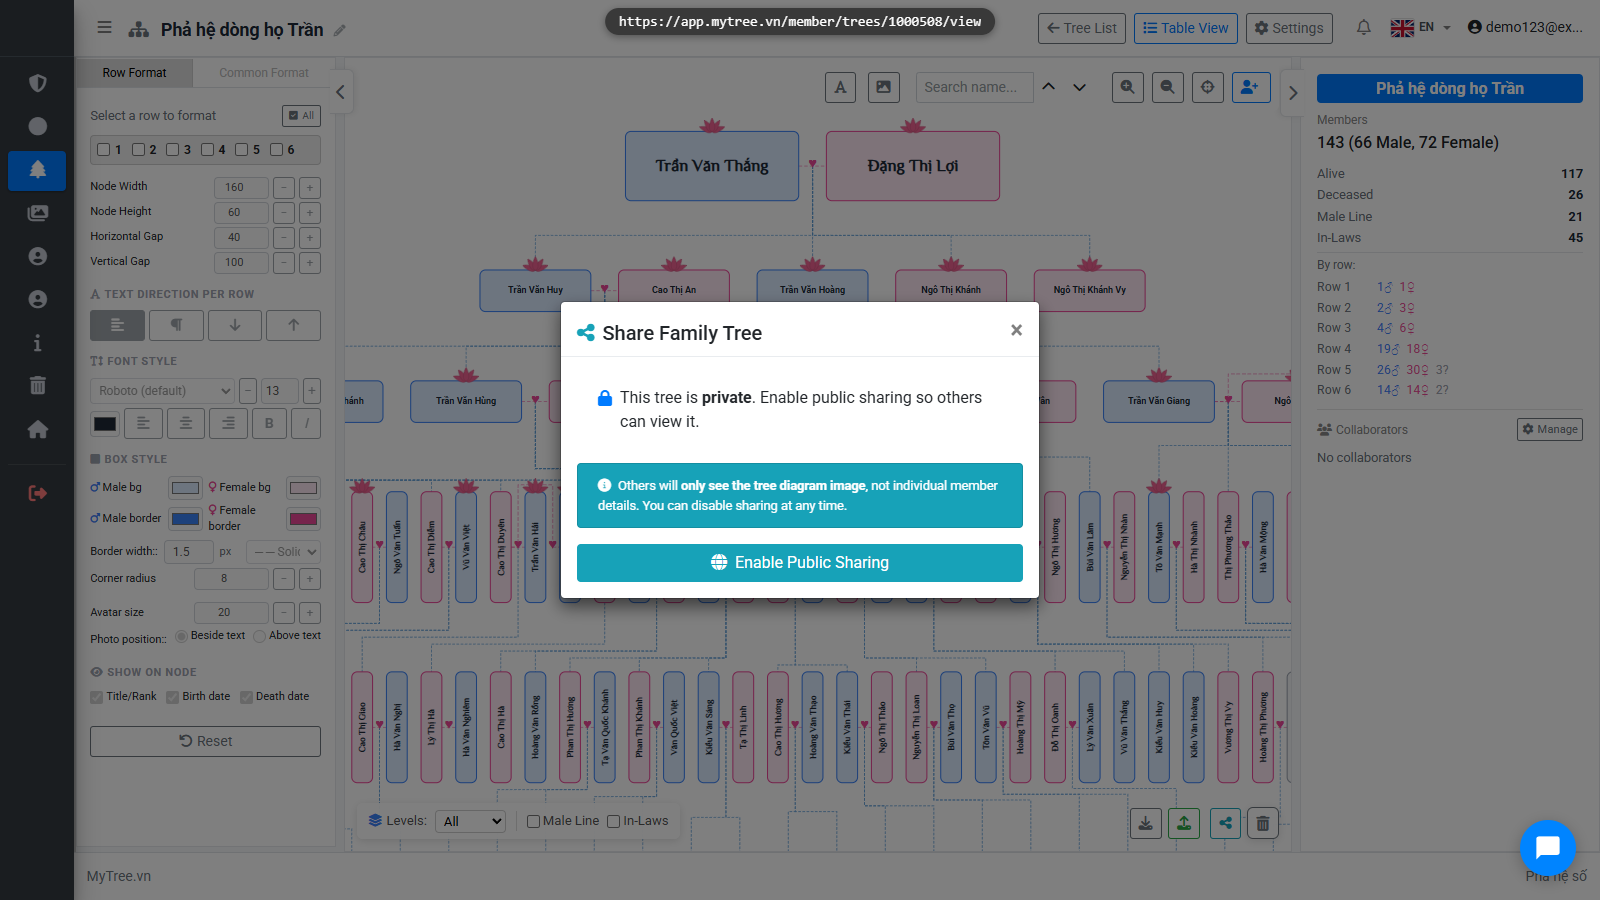
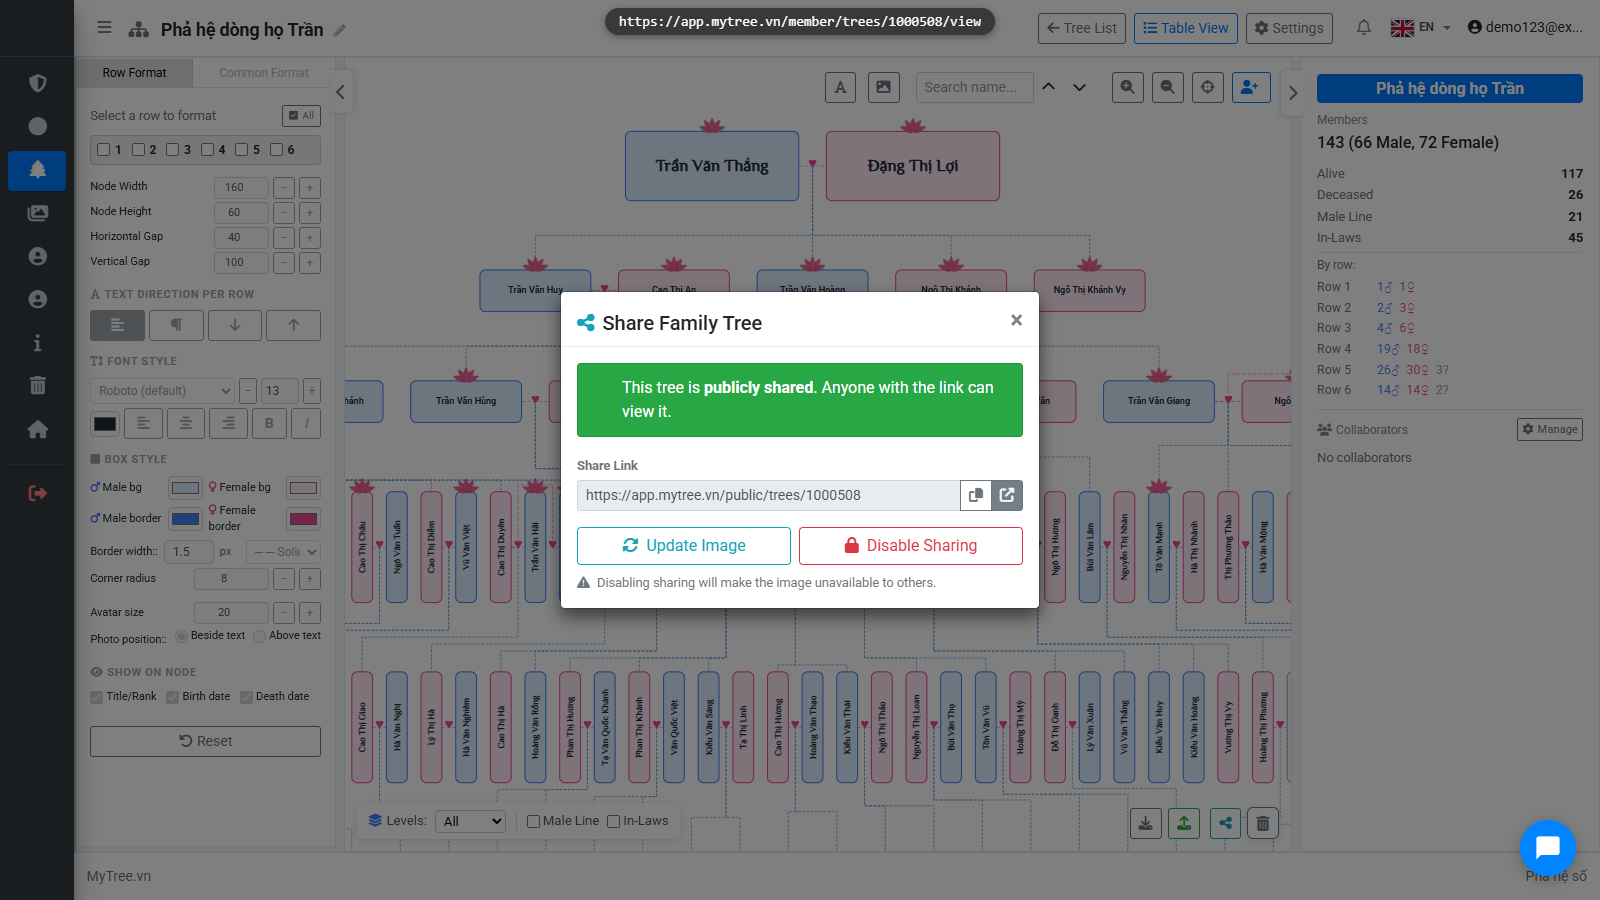
Step 10: Enable Public Sharing
Click Enable Public Sharing to generate a link. Anyone with this link can view your tree without needing an account.
![]()
Step 11: Public Share Link
The share link appears here. Click Copy or click Open to view the public page.
Step 12: Trang xem cây công khai
This is the public view page. Viewers can zoom, pan, and search for members but cannot edit.